When I first began blogging I had no clue what I was doing. Sure there were tutorials out there on how to start a blog. They even had ones for beginners, but no matter how many I read or watched I always got lost at one point or another. So, when I decided to create my own tutorial on how to start a blog, I wanted it to be completely thorough. I wanted to make sure no one left without a blog and every single step no matter how minute would be included.
This step by step guide is simply that.
A tutorial where I completely hold your hand from start to finish. If you are more advanced than this, you may want to find another tutorial that moves a bit more quickly. If, however, you are just like I was then you have come to the right place.
This tutorial is for the technically challenged and the person that needs things spelled completely out.
So, now that we have that rather wordy disclaimer out of the way….let’s get to this!!
Before we start let’s clear up a few things.
What is WordPress? WordPress is a free publishing software and content management system or CMS. It is basically your blog. WordPress allows users to build dynamic websites and blogs that may be updated, customized, and managed from the back end or behind the curtain as they say.
What is SiteGround? SiteGround is a web hosting company that provides the technologies and services needed for thewebsite or webpage to be viewed on the Internet.
Simply put it is the engine under the hood of your car. If you have a problem, the people over at SiteGround will help to fix it. That is their job to make sure your blog runs smoothly and quickly.
You need both WordPress and a web hosting company such as SiteGround to have a blog. Since I use SiteGround and only ever have used them, this post is specifically on how to set up a blog with them. There are other hosting companies out there, but I am a SiteGround gal and so I am sticking with them. You can read why I love Siteground so much here and understand my complete love affair with them. 🙂
How To Start a Blog In SiteGround
Step #1 Start at SiteGround.
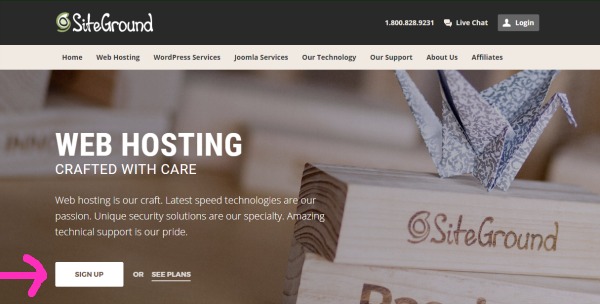
Begin by going to www.siteground.com and select the “sign up” option on their home page.
Step #2 Choose your hosting plan.
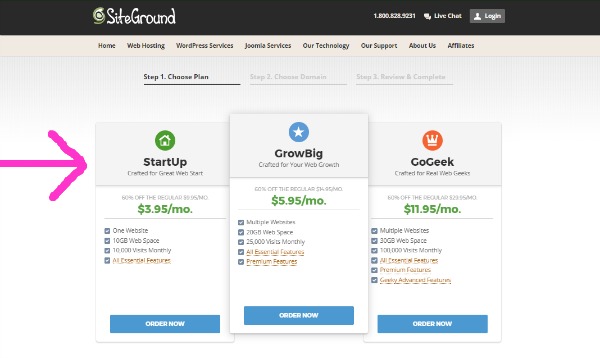
I would suggest the smallest package. This way you can gently ease your way into blogging and grow your server as your audience grows. It is cheaper to purchase a full year at a time, but you can just do a month before you commit if that is financially easier for you to do. Choose “StartUp” and select “Order Now”.
Step #3 Enter your domain name choice.
Now you will need to enter your domain name. It is a little more pricey to do it this way, but I prefer to have my domain and hosting under one roof. I know other’s do not, but for me, this keeps things much easier to monitor. It also eliminates a step that you will have to do if you choose to register your name at another site such as GoDaddy.
If you have already bought your name from another company, don’t worry, SiteGround will walk you through the DNS step. Just select that live chat option in the upper right-hand corner of the image below and they will walk you through the entire process step by step. See why I adore them so much!
Hand holders my friends!
For those of you that have not registered a name with anyone else yet, select “Register a New Domain” and enter the name you would like and select “Proceed”.
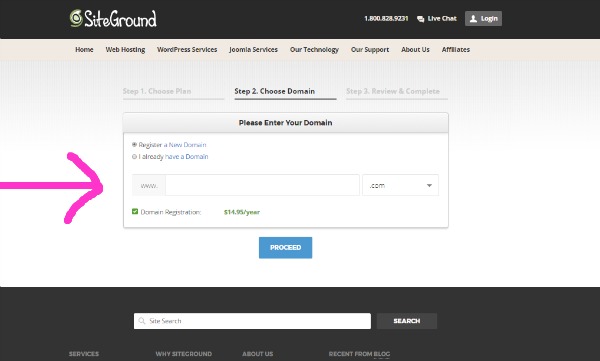
At this point, SiteGround will tell you if the name is available. If it is not you will need to select another version of your name or a new name altogether.
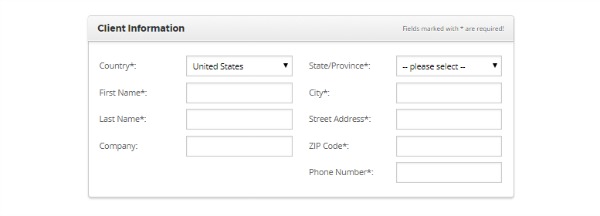
Step#4 Enter your account information.
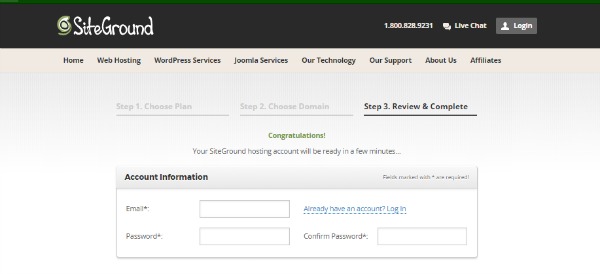
Fill in all the information for your account. If there is a * then the information is required and cannot be skipped.
Step #4 Enter your personal information. (yes you are the client)
Again if there is a * the information is required.
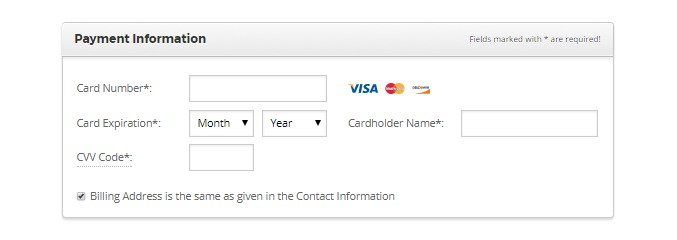
Step #5 Enter your payment information
Whether you choose to pay for the full year (this will give you a nice discount) or just for the first month to make sure this is what you really want to do, a credit card must be entered. I have a card that is only for blog related items. If you do not have one set up for this, I suggest you do that first. Keeping blog income and expenses separate is so much easier if you do it from the very beginning.
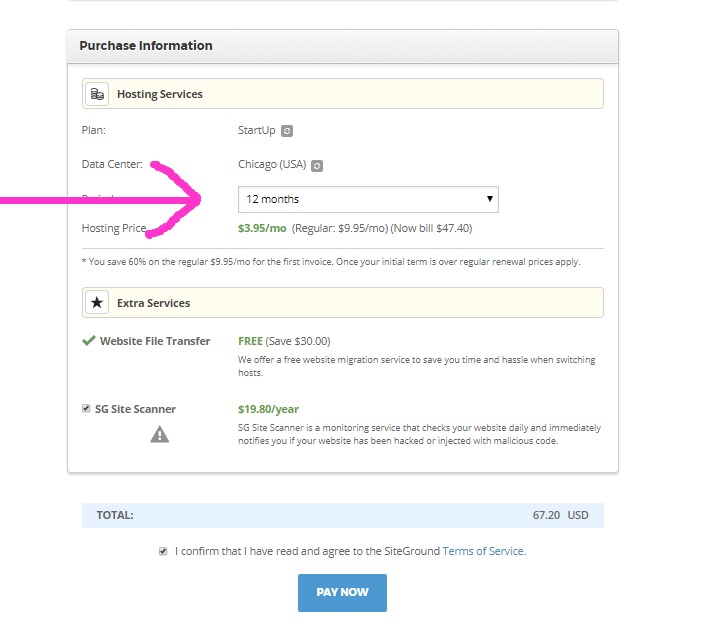
Step #6 Choose your package
This is where you will decide on the full year (which gives you a nice discount) or a 1-month trial. If you are only doing a month you can skip the SiteGround site scanner option. This may be something you will want to add later when your popularity grows. I do not see a reason to get it when you are first starting out. When you are finished, click “Pay Now” to confirm.
JOIN SITEGROUND HERE
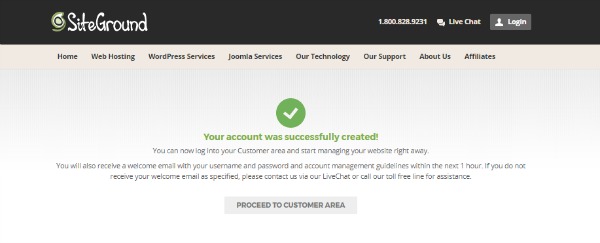
Step #8 Success!!!
Click “Proceed To Customer Area”.
Step #9 Let’s set up your blog!
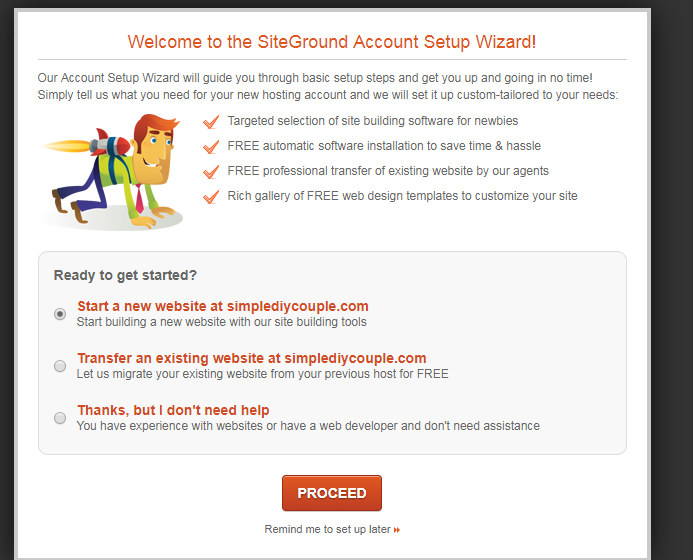
Select “Start A New Website”. Of course, after those words, YOUR domain name will show up and not the one displayed in the image below. 🙂 (shhhh, this is a new blog coming in 2018!)
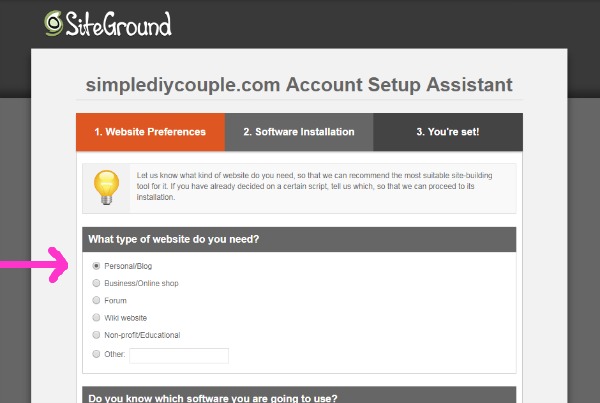
Step #10 Label your domain.
Your blog is a personal/blog so select the first option.
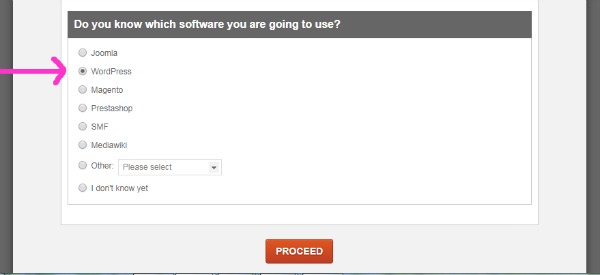
Step #11 Choose your software.
Since we are creating a WordPress blog, this is the option you will need to select. Click the Proceed button to continue.
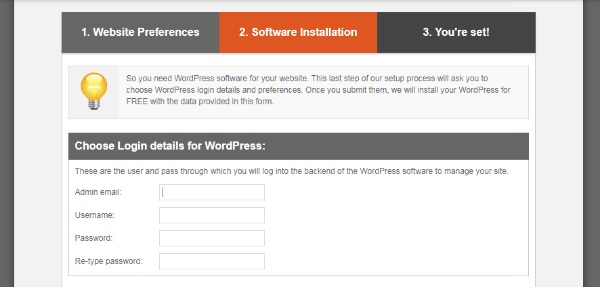
Step #12 Enter your login details.
Choose an email for all housekeeping items for your blog. I prefer to use a different email than my blog name. But you can do what is more comfortable for you.
Make sure to choose a username and password that is safe yet easy for you to remember. If you have not already, start keeping track of all your usernames/passwords.
Step #13 Choose a web design.
Yes! Time to have some fun. 🙂 SiteGround has several different themes that are free and perfect for just starting out. I had a free theme for the first 8 months and did just fine, so save your money for now and chose an option on this screen that you like. You do not need to stay forever with the theme you choose, you can always change and your information will be moved over automatically.
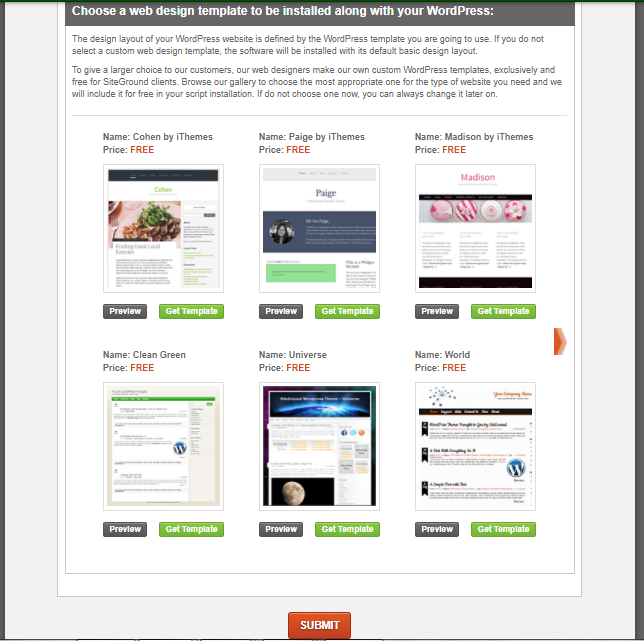
You can also preview a few before you commit. Once you pick a theme, click “submit”.
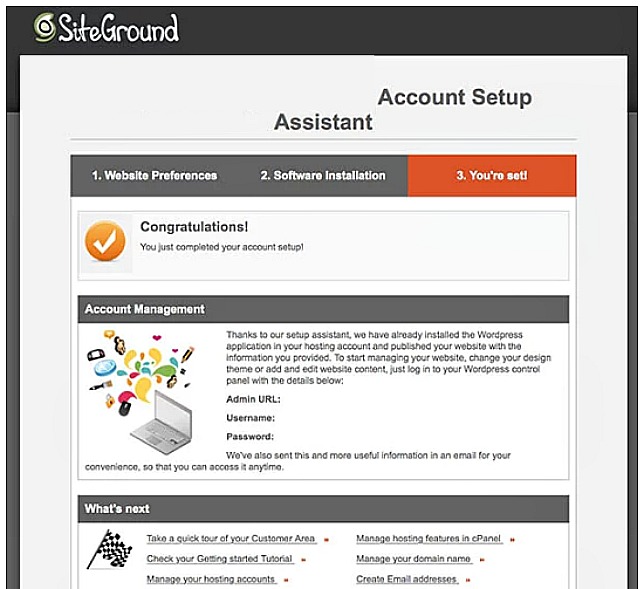
Step #14 Done! Woohooo!!!
JOIN SITEGROUND HERE
And just like that you officially have a blog and a theme and you are ready to get to work! I am so excited that you are a fellow blogger. 🙂 I have so much to teach you now, so take a minute to catch your breath.
Next on your list is deciding what to write about. This is a very important part of blogging and one that many glosses over.
